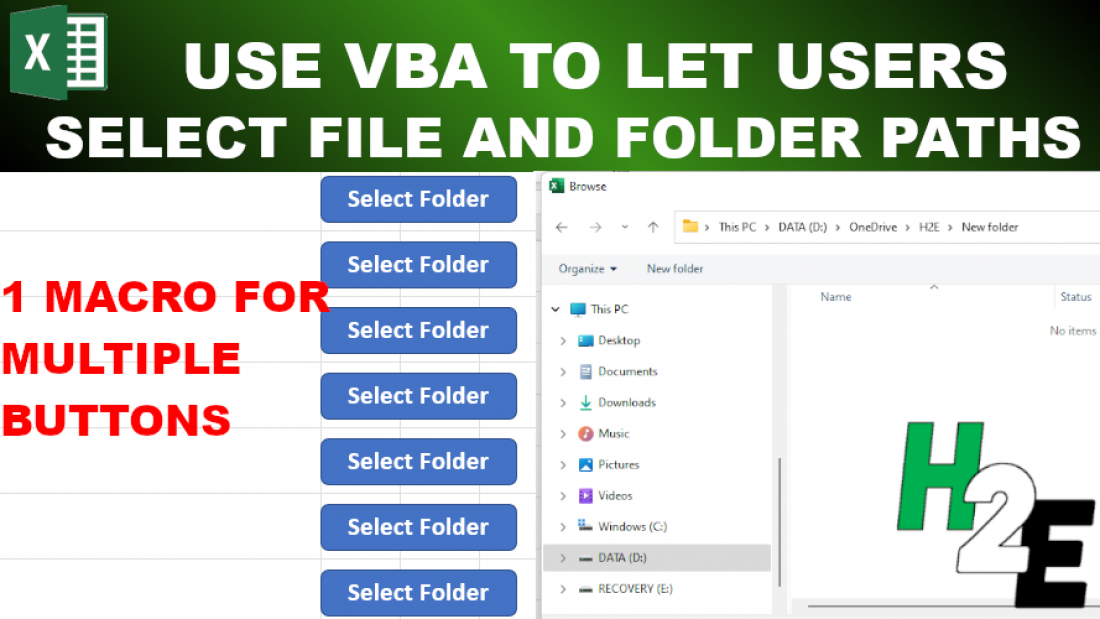
If you need to reference other files or folders within an Excel sheet, trying to predict what the path will be can be challenging. The easier option is to just have the user select the file or folder from their computer, and then have the path get pasted into a cell. To do this, you will need to use visual basic (VBA) for Excel to be able to get this value for you. In this post, I’ll show you how you can do that.
Creating the VBA code to select a file or folder
There are a couple of variables that need to be setup for this code. One is for the file or folder selection, and the other for the actual path. In the below example, I’m going to use the folder picker option. I’ll also disallow multiple selections to ensure the path value can easily be pasted into Excel:
Dim folder As FileDialog

Dim path As String


Set folder = Application.FileDialog(msoFileDialogFolderPicker)

folder.AllowMultiSelect = False


If folder.Show = -1 Then

path = folder.SelectedItems(1)

End If


If path = "" Then Exit Sub


If Right(path, 1) <> "\" Then path = path & "\"

Range("mypath") = path
The folder.show = -1 line is simply to make sure that the user has clicked the button. And if they do, the macro will just pull in the path of the selected item (since multiple selections are disallowed). Towards, the end of the code, there is also a backslash that is added in case it isn’t included within the path. If you were dealing with a file selection, this wouldn’t be necessary.
The last line of code assigns the path to a named range in your spreadsheet called ‘mypath’. You will need to create this to ensure the path goes to the right cell.
The above code will work just as well if you need to select a single file. The only difference is rather than referencing the msoFileDialogFolderPicker, you would want to access the msoFileDialogFilePicker. You can also remove the line that adds the backslash. And you would probably want to change the name of the variable from folder to file.
Create a button to run the macro
One thing you’ll want to do when setting up this macro is to add a button. This way, the user can just click the location next to where the path will be go. To create a button in Excel, go to the Insert tab. Then, select the drop-down menu for Shapes, and then select a square or rectangle to create a button. Once you have created it, right-click and select Edit Text. Here, you can type in a description for the button, such as Select Folder. Next, you can right-click the button and select Assign Macro. Then you should see the following dialog box, where you can select the macro you just created:

Once you’ve assigned the macro, you will be able to just click it so that it runs.
Selecting multiple file and folder paths
If you want to have the user select multiple paths, the easiest solution is just to have multiple places where you can select files or folders. The good news is you don’t need to create multiple macros for this. Instead, you just need to modify the code so that it looks at which row the button you click on is in. This requires using the application caller. Instead of using a named range, I’ll refer to a set column and the row that the button is on. To adjust the macro, I need to add a variable for the selectedRow and assign its value as follows:
Dim selectedRow as integer

selectedRow = Activesheet.Shapes(Application.Caller).TopLeftCell.Row
Assuming that I want to put the path in column A, this will now be my last line of code:
Range("A" & selectedRow) = pathHere is the full code:
Sub selectfolder()

Dim folder As FileDialog
Dim path As String
Dim selectedRow As Integer

Set folder = Application.FileDialog(msoFileDialogFolderPicker)
folder.AllowMultiSelect = False

selectedRow = ActiveSheet.Shapes(Application.Caller).TopLeftCell.Row


If folder.Show = -1 Then
path = folder.SelectedItems(1)
End If

If path = "" Then Exit Sub

If Right(path, 1) <> "\" Then path = path & "\"

Range("A" & selectedRow) = path


End Sub
Since it looks at the selected row, you can just copy the button to multiple rows. You don’t need to create a different macro. However, since it looks at the top left cell, it’s important to keep the button within just a row. Don’t let it bleed into another row. Otherwise, you may populate the path into the wrong cell. Here’s how the buttons look in my example:

It doesn’t matter if the buttons span multiple columns. Using the code above, they simply shouldn’t be extending into another row. In the above example, I have just copied the button multiple times. Now, when a user click on them and makes a selection, it will paste the selected path into the corresponding cell in column A.
If you liked this post on How to Use VBA Code So a User Can Select a File or Folder Path, please give this site a like on Facebook and also be sure to check out some of the many templates that we have available for download. You can also follow us on Twitter and YouTube.

