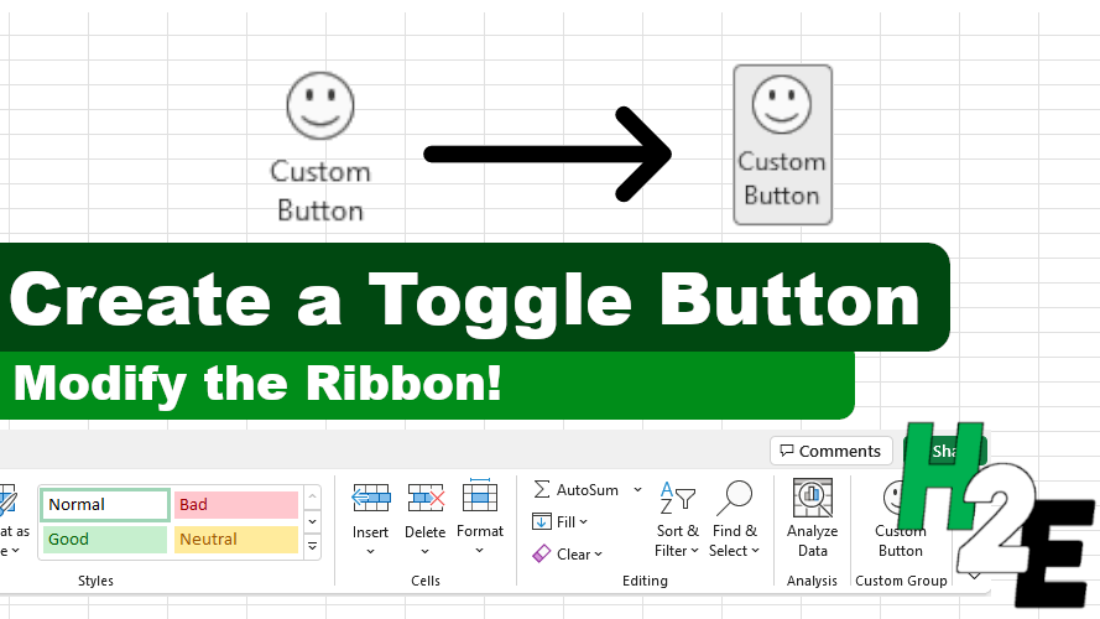
In a previous post, I went over how to modify the Excel ribbon with some basic buttons. This time, I’m going to focus specifically on a toggle button that can change the value of a cell or trigger a calculation or macro. In this example, I’ll show you how you can create a toggle button on the ribbon that will change the color of the sheet, switching between having no fill and a white fill.
The first thing you’ll want to do is download the CustomUI Editor, which you should be able to find online through a search. Once you have that, you can get to work on coding the xml.
Creating the ribbon code
To get started, you can refer to this post on how to create a simple tab and button on the Excel ribbon. Once you have that basic framework set up in the CustomUI Editor, it’s just a matter of modifying the type of button you’ll use. In that post, I just inserted some generic code for a button:
<customUI xmlns="http://schemas.microsoft.com/office/2009/07/customui">
	<ribbon startFromScratch="false">
		<tabs>
			<tab id="customTab" label="Custom Tab">
				<group id="customGroup" label="Custom Group">
					<button id="customButton" label="Custom Button" imageMso="HappyFace" size="large" onAction="Callback" />
				</group>
			</tab>
		</tabs>
	</ribbon>
</customUI>
The button in that example is just a basic button. To turn it into a toggle button, I just need to modify the syntax so rather than saying ‘button’ it says ‘toggleButton’. I still need a label, an image, and specify what happens when it is pressed (the ‘onAction’ argument). Here’s what my updated xml code looks like:
<customUI xmlns="http://schemas.microsoft.com/office/2009/07/customui">
	<ribbon startFromScratch="false">
		<tabs>
			<tab id="customTab" label="Custom Tab">
				<group id="customGroup" label="Custom Group">
					<toggleButton id="customButton" label="Custom Button" imageMso="HappyFace" size="large" onAction="Callback" />
				</group>
			</tab>
		</tabs>
	</ribbon>
</customUI>
Changing button to toggleButton just allows the button to have a pressed state so that when you click on it, it can look sunken. You can use that variable to also dictate what action should be taken. The key to making the toggle button work is to attach some macros to it, which is what I’ll cover next.
Creating the callback macros
A callback macro tells Excel what should happen when the toggle button is clicked. Here’s what the macro should look like initially:
Sub Callback(control As IRibbonControl, pressed As Boolean)

End Sub
The pressed value is a boolean, so it will only either be true or false. The next part of the code involves setting up an if statement to check on that value.
    If pressed = True Then

        'code goes here if the value is true (pressed)

    Else

        'code goes here if the value is false (not pressed)


    End If
In this example, I’m going to make a simple macro where the sheet is either filled white, or there is no fill effect. The code isn’t complicated and I will start will selecting all the cells, selecting the interior property, and setting it to solid (i.e. ‘filled’):
Cells.Interior.Pattern = xlSolidAnd to change it back so there is no fill effect:
Cells.Interior.Pattern = xlNoneWithin the full callback macro, this is how all the code looks:
Sub Callback(control As IRibbonControl, pressed As Boolean)

    If pressed = True Then

        Cells.Interior.Pattern = xlSolid

    Else

        Cells.Interior.Pattern = xlNone


    End If


End Sub
Here is the toggle button in action:
If you liked this post on How to Create a Toggle Button on the Excel Ribbon, please give this site a like on Facebook and also be sure to check out some of the many templates that we have available for download. You can also follow us on Twitter and YouTube.


Add a Comment
You must be logged in to post a comment