

Did you know that you can quickly change the look of your data in Excel with Custom Views? No need for pivot tables or having to change your file’s settings and view over and over again. If you don’t use tables but frequently change the look of your file, Custom Views can save you time.
What are Custom Views?
Custom Views in Excel allow users to save specific display settings (like column widths or cell formatting) and print settings for a worksheet. This becomes especially useful when you have a single Excel sheet but require multiple ways to interpret or present the data. Rather than manually adjusting settings each time, you can quickly switch between different Custom Views.
How do Custom Views work?
Here’s how you can create Custom Views in Excel.
First, what you may want to do is create a default view with no changes applied to it. Go to the View tab and click on Custom Views.

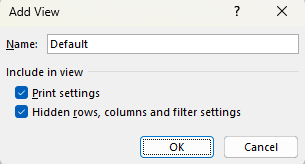
Then select Add and just call it Default.
Now, I’m going to make some changes to my data set. Here’s how it looks right now:
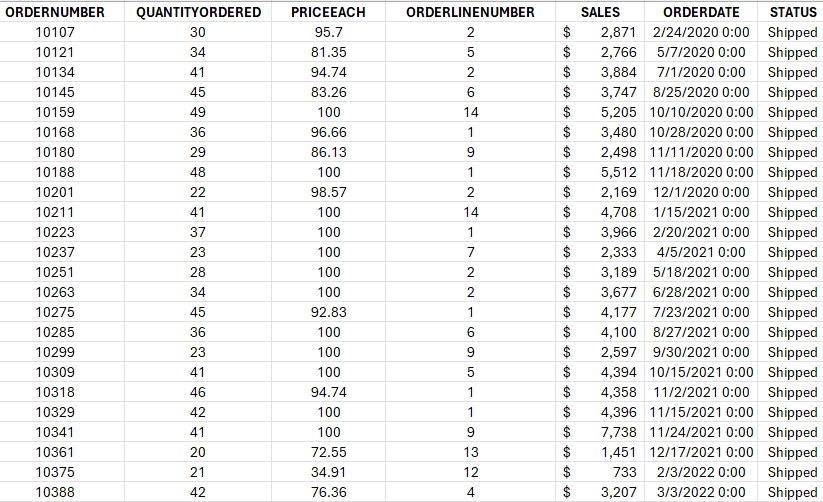
I’m going to apply the following changes: hide all the columns that come after Sales and filter the Quantity Ordered Field so that it only shows orders of more than 30.
Now, I’m going to repeat the steps for creating a view and this call I will call it Quantity Over 30. Now that it’s saved. I can revert back and forth between the different views. In the Custom Views page, there’s a list of the views that have been created:
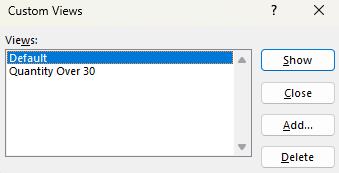
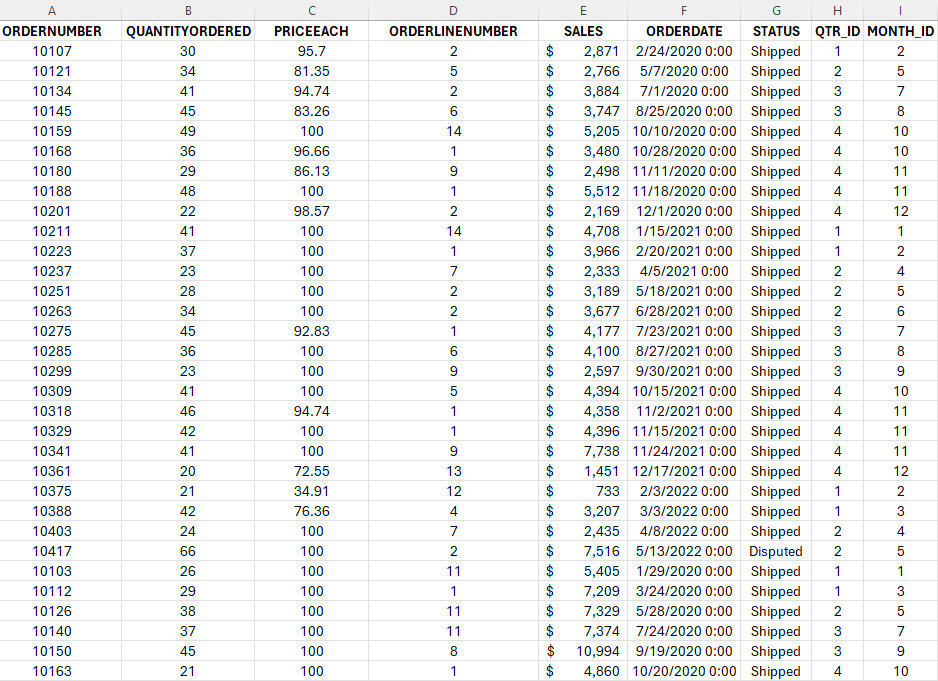
I can choose to Show, Add, or Delete the different views. I can also close the dialog box. If I click on Show while my Default view is selected, I’ll now get my original view, with no changes made:
But if I go back to my Custom Views and select Quantity Over 30, then I’ll see only a list of the orders that have more than 30 in the QuantityOrdered field. I will also no longer see those extra columns beyond Sales:
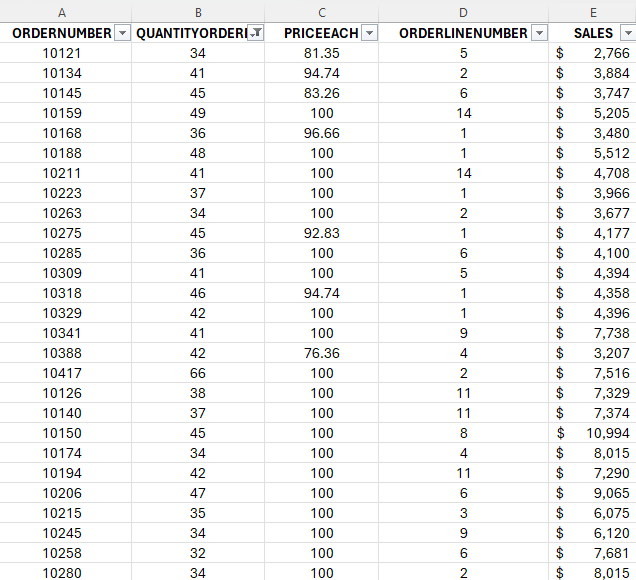
What you’ll notice is that not only have those columns been hidden, but it has also applied a filter to my data. In addition, the view will save your cell position and if you scrolled on your page. So if you happen to scroll halfway down the page and then save your view, when you go to show that view, it will do the same.
TIP: If you want to quickly access Custom Views, you can use the following shortcut: ALT+W+C. You can also right-click on the option and select Add to Quick Access Toolbar. If you do this, it’ll be added to the top of your Workbook.
When should you use Custom Views?
The biggest reason to use Custom Views is they allow you to easily filter or change the look of your data without the need for tables. This can be helpful if you’re sending the file to another user. They can just change the view and quickly see whatever they need to see. That can include filters so they only see a certain region. Or perhaps have different print settings applied so that they will work with their specific printer setup.
You can’t, however, use Custom Views if you have a table. Even if the table is on a different sheet, the Custom Views option will be unavailable. You won’t be able to use it. You may also want to avoid using Custom Views if you expect that the structure of your sheet will change. If that happens, and you haven’t created new views to reflect those changes, you may see a different view than what you expected.
If you like this post on How to Use Custom Views in Excel, please give this site a like on Facebook and also be sure to check out some of the many templates that we have available for download. You can also follow me on Twitter and YouTube. Also, please consider buying me a coffee if you find my website helpful and would like to support it.